

Quiz Builder
Create a graded quiz lesson inside a course — add questions, choose question types, set passing score, attempts, time limit, and shuffle behavior, then save.
Quiz Builder
The Quiz Builder is the editor you use when you add a Quiz lesson to a course section. It walks you through a five-step wizard — Quiz Info, Import Template, Questions, Settings, and Review — and saves the quiz as a piece of course content attached to the section you launched it from. This is the in-lesson quiz, distinct from the standalone Assessments module (see Related).
The wizard at a glance
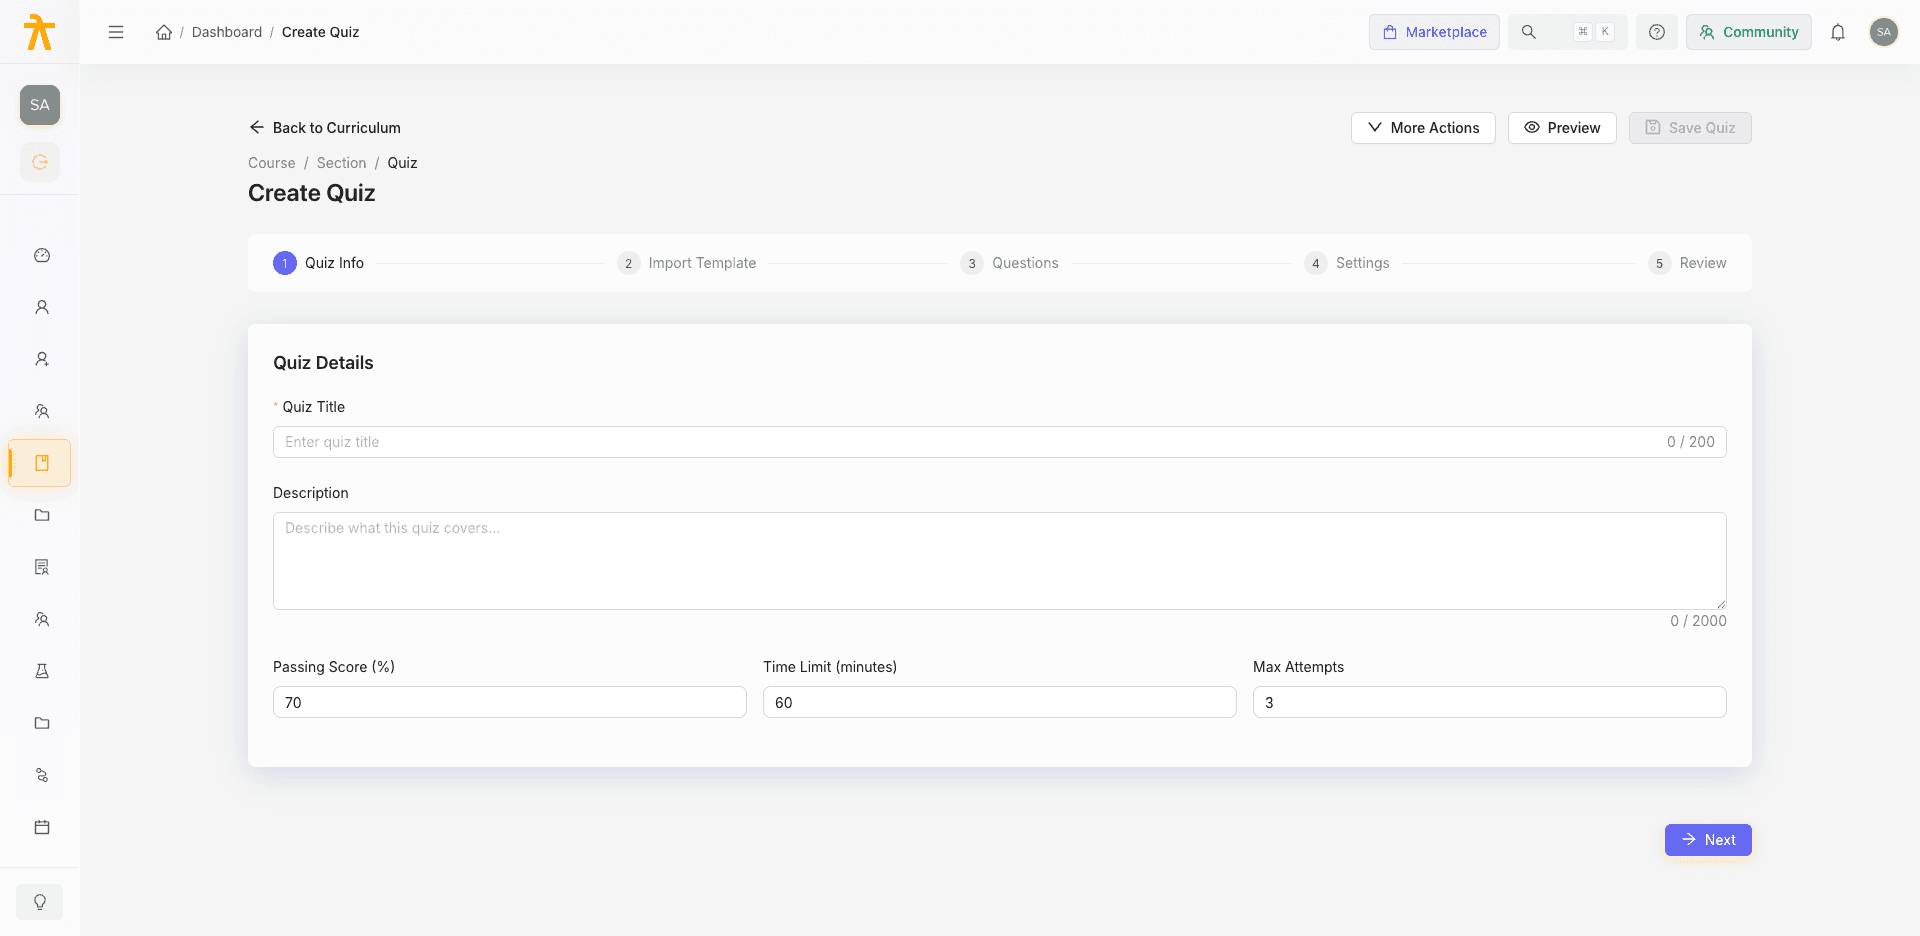
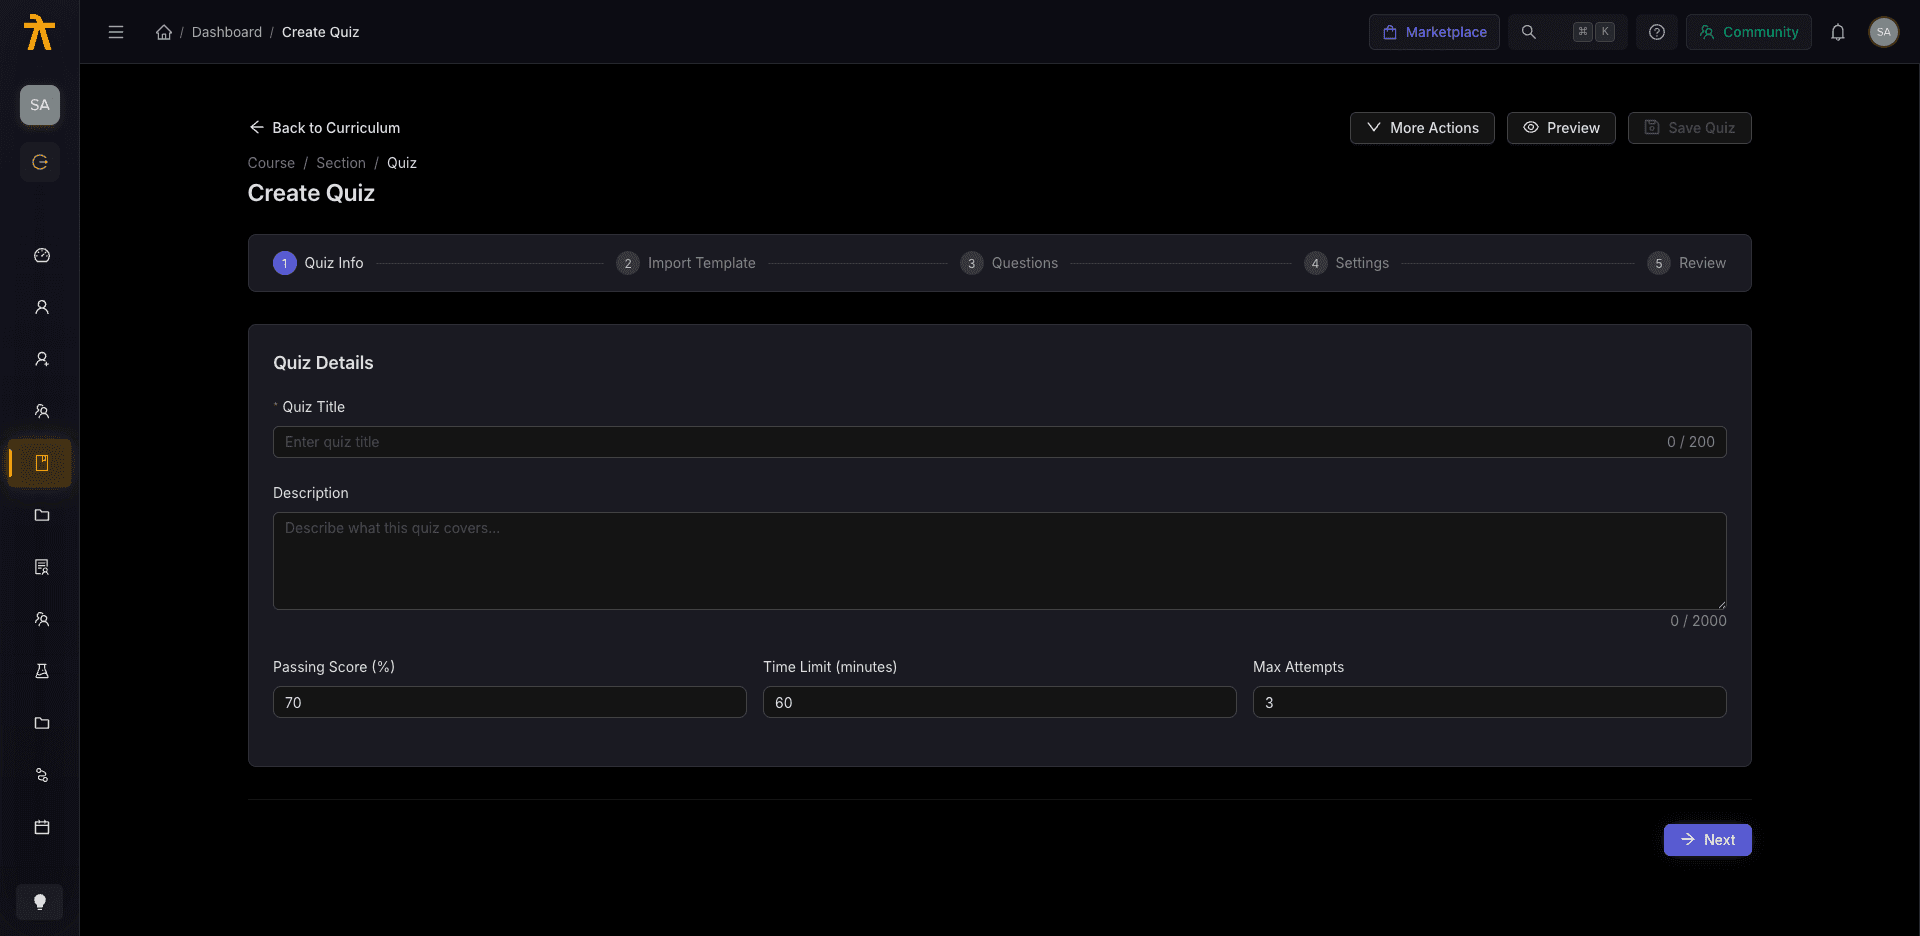
The builder shows a progress bar with five steps at the top: Quiz Info, Import Template, Questions, Settings, and Review. Move between them with the Previous and Next buttons at the bottom, or jump straight to the last step and press Save Quiz. The header keeps Preview, Save Quiz, and (once you have edits) a Discard button visible on every step, so you never have to reach the end of the wizard to save. Pressing Cmd/Ctrl + S saves whenever the quiz is valid.
Step 1 — Quiz Info
The first step captures the basics and the three settings most instructors care about.
| Field | Notes |
|---|---|
| Quiz Title | Required. Up to 200 characters, with a live character count. |
| Description | Optional. Up to 2000 characters. Describe what the quiz covers. |
| Passing Score (%) | 0–100. Defaults to 70. |
| Time Limit (minutes) | 0–180. Defaults to 60. Leave empty for No limit. |
| Max Attempts | 1–10, whole numbers only. Defaults to 3. |
A quiz cannot be saved without a title, so fill this in first.
Step 2 — Import Template
This step lets you start from a pre-built quiz template instead of a blank slate. Pick a template to preview or apply its theme, or click through to the Marketplace to browse more. Choosing the default clears any applied theme. Selecting a template also determines which question types are available in the next step — the builder only offers the question types the chosen template supports.
Step 3 — Questions
This is where you build the quiz. Add a question, pick its type, and fill in the answer data. Each question can be edited, duplicated, or deleted from the list.
Adding and editing a question
- Click Add Question and choose a type.
- Enter the Question Text (required).
- Set the Question Type, Points (1–100), and Difficulty (Easy, Medium, or Hard).
- Optionally set a Section/Category (defaults to General) to group questions by topic.
- Fill in the answer data for the type (see below).
- Optionally expand Advanced Settings for an Explanation (shown after submission), a Hint, and a per-question Time Limit (seconds).
- Click OK to save the question into the list.
The OK button stays disabled until the question is valid, and a warning banner explains what is missing (for example, Please select the correct answer(s) or All options must have text).
Question types
The builder supports six question types. The exact set you can pick from depends on the template selected in Step 2.
| Type | How answers work |
|---|---|
| Single Choice | 2–6 options; pick exactly one correct option with a radio button. Defaults to four blank options. |
| Multiple Choice | 2–6 options; mark one or more correct options with checkboxes. |
| True/False | Two fixed options, True and False; choose which is correct. |
| Fill in the Blank | Define one or more blanks, each with a list of accepted answers, plus a case-sensitivity toggle. |
| Matching | Left-side items paired to right-side match options; every left item must map to a correct match. |
| Ordering | Two or more items whose sequence is the correct order. |
For choice questions you can Add Option (up to six) and remove options (down to a minimum of two); removing an option automatically re-maps your correct-answer selections so they still point at the right choices.
Step 4 — Settings
The Settings step exposes the quiz-wide behavior, grouped into four sections.
Display Options
| Setting | Effect |
|---|---|
| Shuffle questions | Randomizes question order for each attempt. Off by default. |
| Shuffle answer options | Randomizes option order for choice questions. Off by default. |
Results Display
| Setting | Effect |
|---|---|
| Show Correct Answers | When learners see correct answers: Immediately after submission, After all attempts used, After deadline passes, or Never. |
| Show score immediately after submission | Reveals the score as soon as the learner submits. On by default. |
| Allow learners to review their answers | Lets learners revisit their responses. On by default. |
Submission Rules
| Setting | Effect |
|---|---|
| Require all questions to be answered | Blocks submission until every question is answered. On by default. |
| Auto-submit when time limit is reached | Submits automatically when the clock runs out. On by default. |
Submission Behavior
| Setting | Effect |
|---|---|
| Submission Mode | End of Quiz (one submission at the end) or Per Question (a Check button after each answer with instant feedback and animations). |
| Questions Per Attempt | Number of random questions shown per attempt. Leave empty to show all questions. |
| Attempt Reset Hours | Hours a learner must wait before a new attempt (0–720). 0 means no wait time. |
Step 5 — Review and save
The final step summarizes the quiz: total points, passing score, time limit, the question sections you created, and a list of any outstanding validation errors. If anything is wrong — a missing title, no questions, an unanswered question, or a max-attempts value outside 1–10 — it is listed here and the Save Quiz button stays disabled.
When everything checks out, click Save Quiz (from the header, the Review step, or Cmd/Ctrl + S). A new quiz is created as a mandatory content item in its section and you are returned to the course curriculum; editing an existing quiz updates it in place and clears the unsaved-changes flag.
In-lesson quiz vs. the Assessments module
The Quiz Builder produces a quiz that lives inside a course section as a lesson. It is graded, attempt-limited, and part of the learner's path through that course. If you instead need a standalone, reusable assessment — one that is not bolted to a single course lesson — use the separate Assessments module. See Assessments for that workflow.
