

Create a Course
Field-by-field guide to the 5-step Create Course wizard in the Arythmatic manage dashboard.
Create a Course
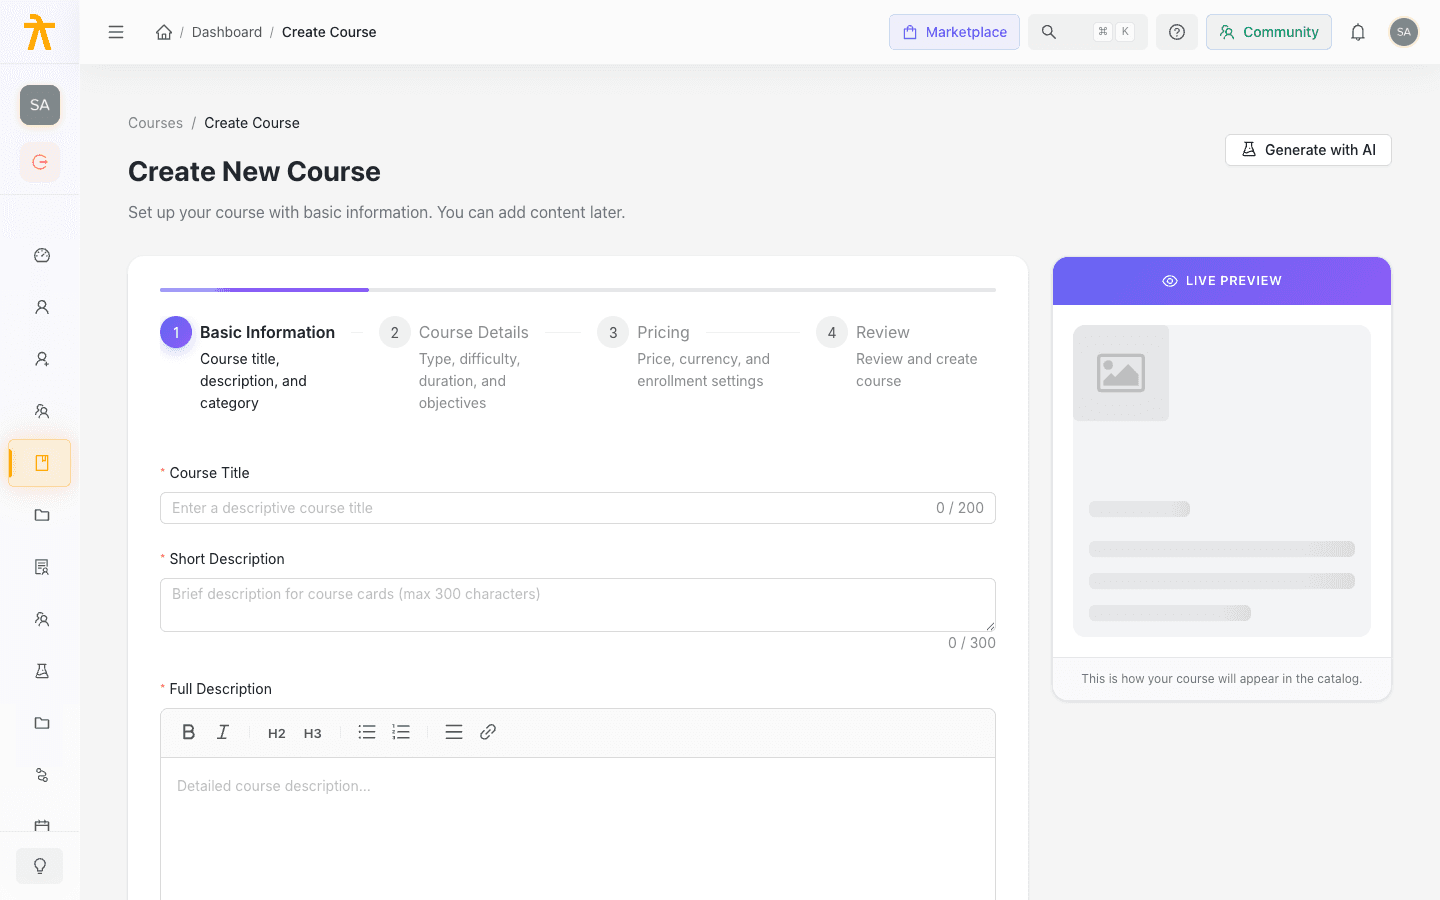
This guide walks you through the Create Course wizard field by field. The wizard captures the course shell — its title, descriptions, category, type, and pricing — and saves it as a Draft. Once the shell exists, you move into the Curriculum Builder to add your sections and lessons.
Before you start
- You need the Admin or Instructor role.
- Have your course title, a short description, a full description, and a category ready — these four are the only fields required to create the course.
- A thumbnail (1280×720) and an assigned instructor are recommended but optional.
- Pricing is admin-only. Instructors do not see the Pricing step, and courses they create default to free.
The wizard at a glance
The wizard defines five steps, but not all of them appear for every user:
| # | Step | Purpose | Shown to |
|---|---|---|---|
| 1 | Basic Information | Title, descriptions, category, instructor, tags, thumbnail | Everyone |
| 2 | Course Details | Type, difficulty, duration, objectives, certificate | Everyone |
| 3 | Pricing | Free/paid, multi-currency prices, enrollment cap | Admins only |
| 4 | Settings | Completion criteria, SEO, feature flag | Hidden in the current build |
| 5 | Review | Read-only summary + live catalog preview | Everyone |
So an admin steps through Basic → Details → Pricing → Review, while an instructor steps through Basic → Details → Review. The Settings step is not rendered in the current wizard — its two most useful fields (feature flag and certificate) are surfaced inline on steps 1 and 2 instead, and the rest are configured later in the full course editor.
A progress bar and a step indicator track where you are. At the bottom you always have Previous, Save as Draft, and either Next or (on the last step) Create Course.
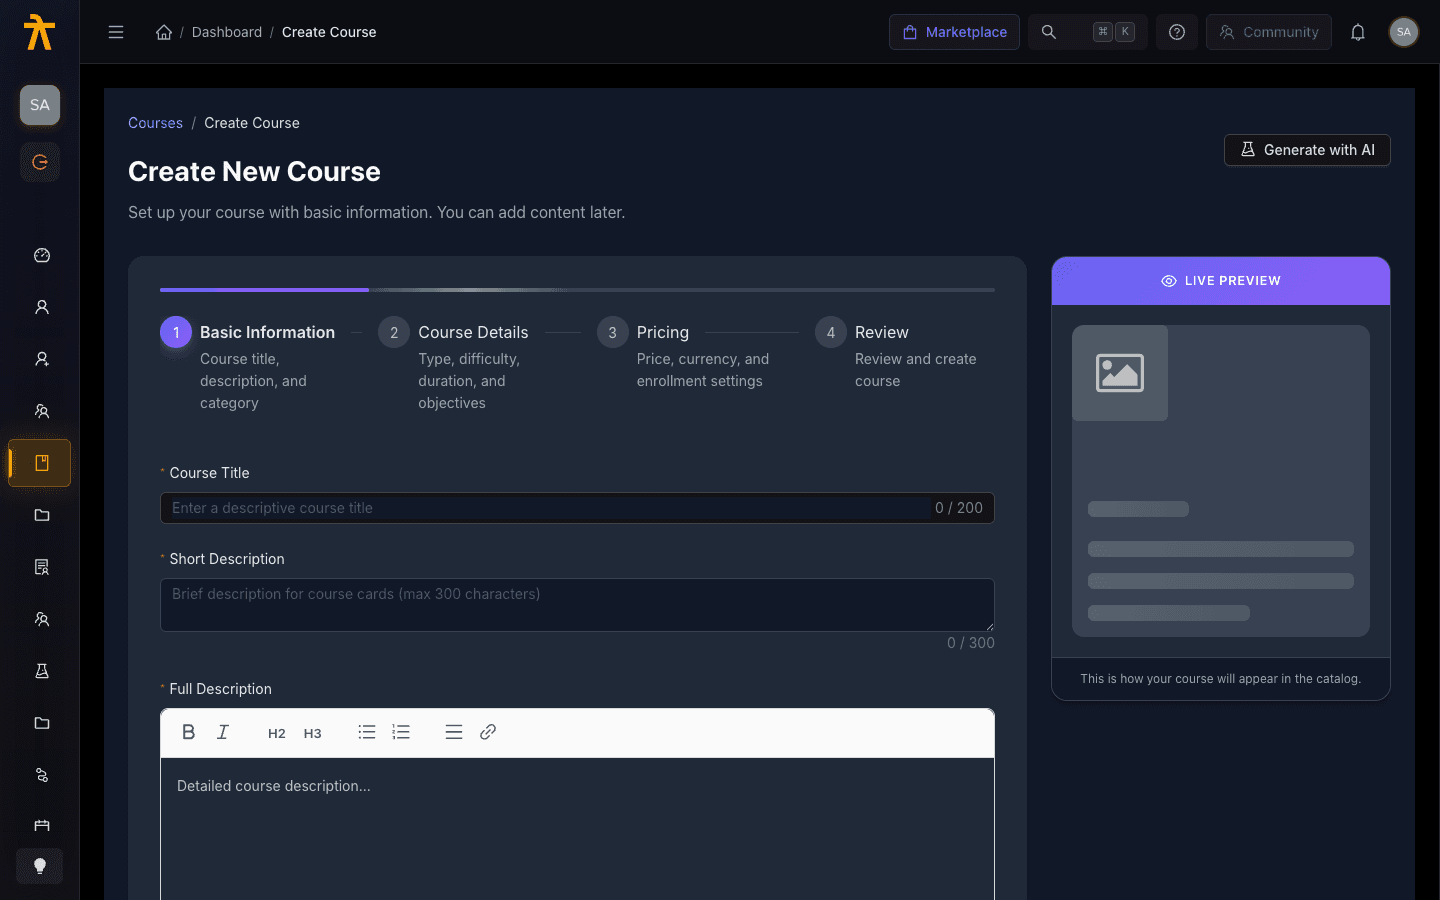
A Live Preview card sits to the right of the form the whole time, rendering the course exactly as it will appear in the catalog. It wakes up once the title reaches three characters, so you get instant feedback as you type.
Step 1 — Basic Information
The core, catalog-facing details. This is the only step with fields that block creation.
| Field | Required | Type | Notes / limits |
|---|---|---|---|
| Course Title | Yes | Text | 3–200 characters. Clear and searchable — you can change it later. |
| Short Description | Yes | Textarea | 10–300 characters. Shown on catalog cards. |
| Full Description | Yes | Rich text | Minimum 50 characters. Shown on the course detail page; supports formatting. |
| Category | Yes | Tree picker | Searchable, supports nested categories. Use the New button to create one inline (see below). |
| Instructor | No | Searchable select | Lists users with the Instructor or Admin role. If left blank, no instructor is attributed. |
| Tags | No | Free-entry tags | Type a tag and press Enter. Helps search and filtering. |
| About the Author | No | Textarea | Up to 1000 characters. If empty, the instructor's default bio is shown. |
| Thumbnail Image | No | Image upload | PNG, JPEG, or WebP. Recommended 1280×720, max 5MB. One image. |
| Feature this course | No | Checkbox | Surfaces the course in the featured section. (This is a Settings field exposed here.) |
Creating a category inline
If the category you need does not exist, click New next to the Category picker. A small modal opens — no need to leave the wizard or ask an admin:
| Field | Required | Notes |
|---|---|---|
| Name | Yes | Up to 100 characters, e.g. "Web Development". |
| Parent category | No | Leave empty for a top-level category, or nest it under an existing one. |
| Description | No | Up to 300 characters. |
On save, the category tree refreshes and the new category is automatically selected for your course.
The thumbnail is uploaded after the course is created, because it needs a course ID to attach to. If the image upload happens to fail, the course is still saved — you can re-upload it from Edit → Media & Preview. You will see a toast if this occurs.
Step 2 — Course Details
How the course is taught and what learners get out of it. None of these fields are required — the step always validates, so you can skip straight through with the defaults.
| Field | Required | Allowed values | Default |
|---|---|---|---|
| Course Type | No | Self-Paced (self_paced), Instructor Led (instructor_led), Hybrid (hybrid) | Self-Paced |
| Difficulty Level | No | Beginner, Intermediate, Advanced, Expert | Beginner |
| Estimated Duration (hours) | No | Number, minimum 0.5, in 0.5 steps | 1 |
| Prerequisites | No | Free text | Empty |
| Learning Objectives | No | Repeatable list — add or remove rows | Empty |
| Default Enrollment | No | Toggle — instructor-led only | Off |
| Certificate | No | Checkbox — enable certificate on completion | Off |
Learning Objectives is a dynamic list: click Add Objective for each bullet, or the trash icon to remove one. Blank rows are stripped out automatically when the course is saved.
Default Enrollment appears only when Course Type is Instructor Led. When on, learners can enroll at any time without picking a specific batch, and a course coordinator follows up after enrollment.
Certificate enables a certificate on completion. A default template is applied automatically; to change or customize it, visit the Certificates page. Learners only receive a certificate once a template is assigned and the course is completed.
Course Type, Difficulty, and Learning Objectives are exactly what the Generate with AI panel fills in for you. If you are unsure, generate a draft first (see below) and then refine.
Step 3 — Pricing
Admins only. Controls whether the course is free or paid, in which currencies, and how many learners can enroll.
| Field | Required | Values | Default |
|---|---|---|---|
| Pricing | Yes | Free Course / Paid Course | Free Course |
| Currency prices | Yes if paid | One or more currency + amount rows | Empty |
| Max Enrollments | No | Number ≥ 0; empty = unlimited | Unlimited |
When you choose Paid Course, the multi-currency panel appears. Add a price by picking a currency and entering an amount, then Add Price. You must add at least one price before you can leave this step on a paid course.
The available currencies are:
| Code | Symbol | Code | Symbol |
|---|---|---|---|
| USD | $ | AUD | $ |
| EUR | € | JPY | ¥ |
| GBP | £ | SGD | $ |
| INR | ₹ | AED | د.إ |
| CAD | $ |
Auto-Convert is a shortcut: pick a base currency, enter one amount, and click Get Rates & Fill. Arythmatic fetches live exchange rates and fills every currency, rounding to psychological pricing (ending in .99; JPY is rounded to whole yen). Every row stays editable, so review the filled values before saving.
Who can access a course is governed by group assignment at publish time, not by anything on this step. A course becomes visible to learners once you assign it to at least one group — see Preview and Publish. Pricing only controls the checkout price for self-serve catalog purchases. Full pricing details (multi-currency, discounts, auto-convert) live in Course Pricing.
Step 4 — Settings
The Settings step is defined in the wizard but not rendered in the current build. Its fields are still meaningful — two of them are surfaced on earlier steps, and the rest are configured later in the full course editor after creation.
| Field | Where it lives now | Values / default |
|---|---|---|
| Feature this course | Basic Information checkbox | Off by default |
| Certificate available | Course Details checkbox | Off by default |
| Completion Criteria | Course editor (after create) | Complete All Content (default), Percentage Based, Required Content Only, Custom Rules |
| SEO Title / Description / Keywords | Course editor (after create) | Empty |
| Status | Set automatically | Always draft on creation |
Don't hunt for a Settings tab in the wizard — there isn't one. Set the feature flag on step 1 and the certificate on step 2, then fine-tune completion rules and SEO from the course editor once the draft exists.
Step 5 — Review
A read-only summary so you can sanity-check everything before committing. It shows four cards — Course Information (title, category, short description), Course Details (type, difficulty, estimated duration, and default-enrollment state for instructor-led courses), Pricing (FREE or the primary price plus any additional currencies, and max enrollments), and Learning Objectives — alongside a large live catalog preview captioned "How it will look in the catalog." Nothing here is editable; use Previous to go back and change a field. When you are happy, click Create Course.
What's required to create
Only four fields gate creation, all on Basic Information: a title (3–200 chars), a short description (10–300 chars), a full description (50+ chars), and a category. On a paid course, you also need at least one currency price. Everything else has a working default, so you can create a minimal course in under a minute and enrich it later.
Saving, auto-save, and shortcuts
- Save as Draft is available on every step. It creates the course immediately in Draft status, uploads any thumbnail, and drops you into the course editor.
- Auto-save to your browser runs continuously. About a second after you stop typing, the form is written to local storage and you see a "Draft saved" indicator. If you close the tab and return, Arythmatic restores your in-progress form ("Draft restored from previous session"). This is a local convenience — it is not the same as saving the course to the server.
- Keyboard shortcuts:
Cmd/Ctrl + Enteradvances (or creates on the last step),Cmd/Ctrl + →/Cmd/Ctrl + ←move between steps, andCmd/Ctrl + Ssaves a draft.
Generate with AI and Duplicate
- Generate with AI (top-right) opens a panel that drafts a course for you and fills in the title, full and short descriptions, tags, difficulty level, and learning objectives. Review and edit before creating — it is a starting point, not a finished course.
- Duplicate: opening the wizard from an existing course's Duplicate action pre-fills the form from the original (with "(Copy)" appended to the title), so you can spin up a variant quickly.
What happens next
Clicking Create Course saves the course in Draft status and takes you to the course detail page. Nothing is visible to learners yet. From here you can:
- Build the curriculum — open the Curriculum Builder and add sections and content.
- Adjust any field you skipped from the course editor tabs (descriptions, thumbnail, pricing, completion criteria, SEO).
- Preview and publish, then assign the course to one or more groups so learners can see it.
You do not have to get everything perfect in the wizard. Once the four required fields are filled, create the course and refine the rest from the editor — the wizard exists to get you to the curriculum quickly, not to capture every setting up front.
Courses Overview
A complete reference for the Courses list — filters, search, sort, grid and list views, the statistics sidebar, course cards, and every per-course action.
Curriculum Builder
Add sections and lessons to your course, reorder them by dragging, and shape the full learning journey from one screen.
