

Groups
Create reusable bundles of learners to control who can access private courses, enroll in bulk, and report — and see how a Group and a School are two views of one entity, distinct only from a Batch.
Groups
A Group is a reusable, named bundle of users, and it does three jobs. First, it controls who can access a course — a course assigned to specific groups is private to those members, which is how you deliver restricted, client-specific, or internal-only courses. Second, it lets you enroll or grant access in bulk instead of learner by learner. Third, it powers the Group Admin scope, so a delegated administrator can manage a slice of your workspace without full tenant access.
Group and School vs. Batch
A Group and a School are the same underlying entity viewed two ways — they are not separate object types. Only a Batch is a genuinely separate concept:
- A Group is a flexible, reusable collection of users for controlling course access, bulk enrollment, and reporting. Membership is managed by hand and a user can belong to many groups. The Groups page is the management view of these entities — create groups, add or remove members, assign courses in bulk, and delegate a Group Admin.
- A School is that same entity seen through the analytics lens. The Schools page — the other view — shows per-group learners, courses, and analytics, plus the focused My School area a Group/School Admin sees. The default Everyone entity, for example, appears on both pages.
- A Batch is genuinely separate: a scheduled cohort of a single course (an enrollment window, instructor, and capacity), used to run one course for a set intake — not a standalone, reusable audience.
To build or manage the audience, use the Groups view; to see analytics on that same audience, open the Schools view. Reach for a Batch only when you need a scheduled cohort of a single course.
The Groups list
The Groups page opens with four statistics cards summarizing your workspace:
| Card | Meaning |
|---|---|
| Total Groups | All groups in the workspace |
| Active Groups | Groups currently marked active |
| Total Members | Combined membership across all groups |
| Course Assignments | Total course-to-group assignments |
Below the stats you can filter with the All, Active, and Inactive pills, search by name, and switch between grid and list views. Each group row shows the Group Name, Members count, Courses count, and Created date, with View, Edit, and Delete actions.
A special Everyone group represents your entire membership. It is tagged Everyone in the list and cannot be deleted — use it to reach every learner at once.
Creating a group
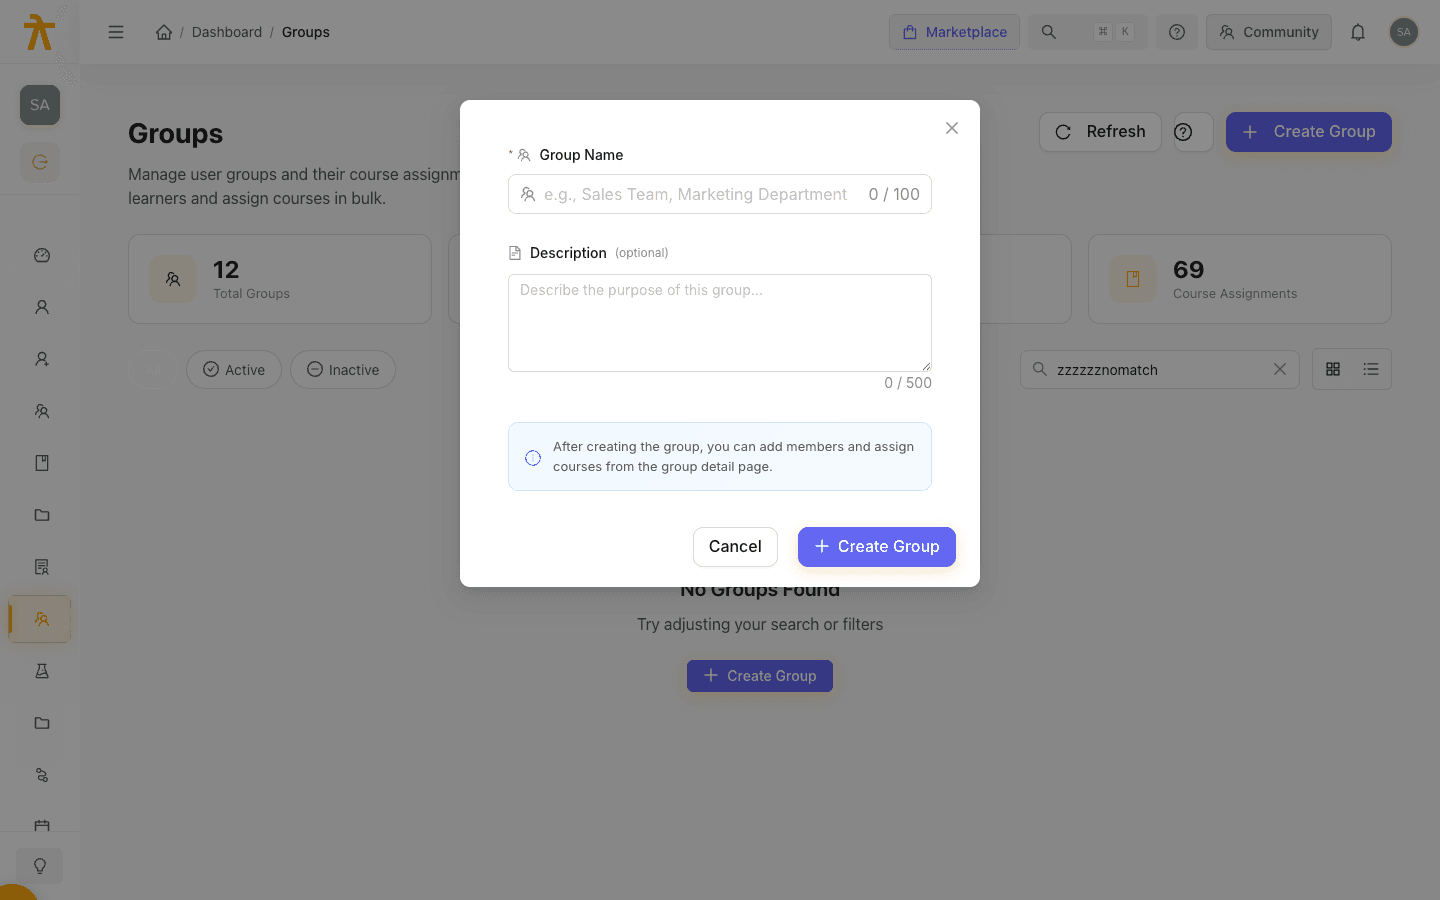
- Click Create Group in the top right of the Groups page.
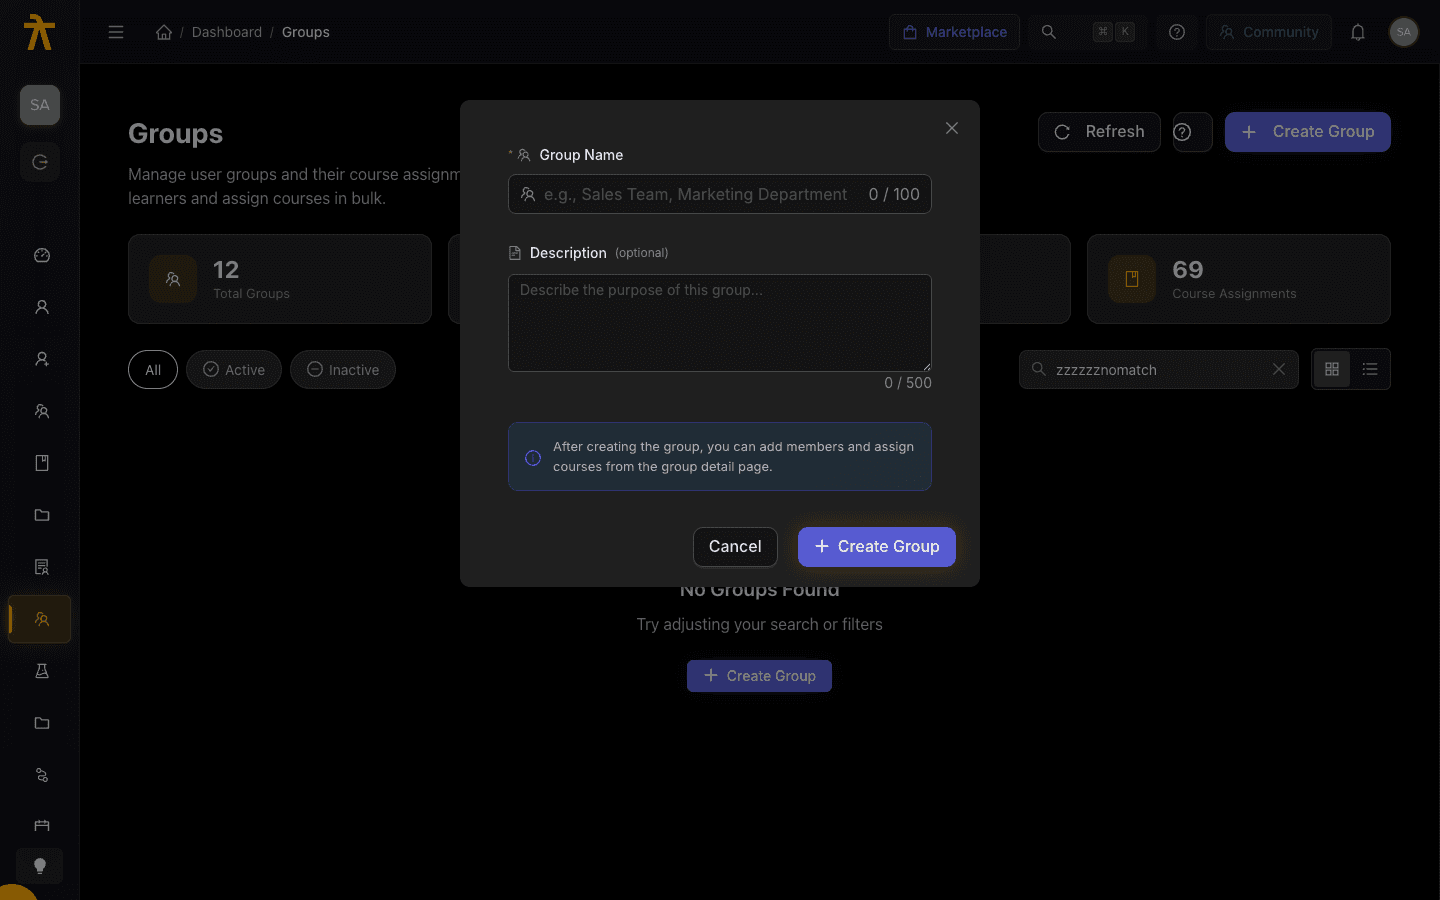
- Enter a Group Name (2–100 characters), for example Sales Team or Marketing Department.
- Optionally add a Description (up to 500 characters) explaining the group's purpose.
- Click Create Group.
New groups start empty. After creation, open the group to add members and assign courses.
Managing a group
Open a group to reach its detail page, which is organized into three tabs:
Overview
A summary of the group, including its description, member and course counts, and who created it.
Members
Add or remove the users who belong to the group. Membership changes here drive which learners receive the group's course assignments. See Users for how individual accounts are managed.
Adding a member by email address that has no account yet (directly, or by CSV import) creates a new unverified account for that email and auto-assigns it the Learner role along with the membership. A brand-new Learner row therefore appears in the roster, and it counts toward your user total until — or whether or not — the person sets a password.
Courses
Assign courses to the group. Each assignment does two things: it grants the group's members access to the course (essential for private courses — see Restricting course access below), and it lets you auto-enroll those members if you choose. When you assign a course you can turn auto-enrollment on to enroll every member immediately, or leave it off to simply grant access and let learners self-enroll. Removing an assignment revokes that access along with the bulk-enrollment tie. For the full enrollment picture, see Enrolling learners.
Self-enroll (the auto-enrollment-off path) works for free courses only. If the assigned course is paid, a member can browse it but self-enrolling returns Payment Required — they must complete checkout to get in; there is no free self-enroll for paid group courses. Self-enroll is also rate-limited per learner to stop a member fanning out into the whole catalog at once.
Editing and status
Use Edit to rename a group, update its description, or toggle its Group Status. An Active group is visible to learners; an Inactive group is hidden without losing its membership or assignments.
Deleting a group removes all of its member and course associations. This does not delete the user accounts themselves, but the bulk enrollment tie is lost. The Everyone group cannot be deleted.
Restricting course access with groups
Groups are how you make a course private. Every course is assigned to one or more groups, and a learner can access — and enroll in — a course only if they belong to one of its assigned groups. A learner who is not in any of the course's groups is denied access.
- The built-in Everyone group is the default all-access audience. A course assigned to Everyone is effectively public to your whole membership.
- Assigning a course to one or more custom groups instead makes it private — only members of those groups can find and open it. This is how you deliver client-specific, cohort-specific, or internal-only courses.
You set a course's groups from either side:
- From the course, at publish time, via the Assign to Groups dialog — see Preview and publish.
- From the group, via the Courses tab on the group detail page (above).
To gate a course to specific customers or teams, remove Everyone and assign only the groups that should have access. You can then add or remove members of those groups over time to change who can access the course — no need to republish it.
The Group Admin scope
Groups underpin a delegated administration model. A user flagged as a Group Admin administers their assigned area (surfaced as My School in navigation) without needing full tenant-admin rights. This lets you hand off day-to-day management of a set of learners to a local owner while keeping workspace-wide control central.
Visibility of groups differs by role: only Admins can create or change groups; Instructors get read-only access to the full group list; and learners see only their own groups (via the learner portal's My Groups view), never the whole roster.
For how these permissions are assigned, see Roles and Roles & permissions.
Related
- Users
- User detail
- Roles
- Schools
- Preview and publish — assign a course to groups at publish
- Roles & permissions
- Inviting users
- Enrolling learners
