

Payment Gateways
Connect Stripe or Razorpay to collect payments for paid courses, using test keys first and switching to live mode when you are ready.
Payment Gateways
Before learners can purchase a paid course, your workspace needs a connected payment gateway. Arythmatic supports two gateways — Stripe and Razorpay — and an Admin configures them on the Payment Settings screen. This page explains how to obtain API keys from each provider, save them, run in test mode, wire up webhooks, and activate the gateway that collects real payments.
Opening Payment Settings
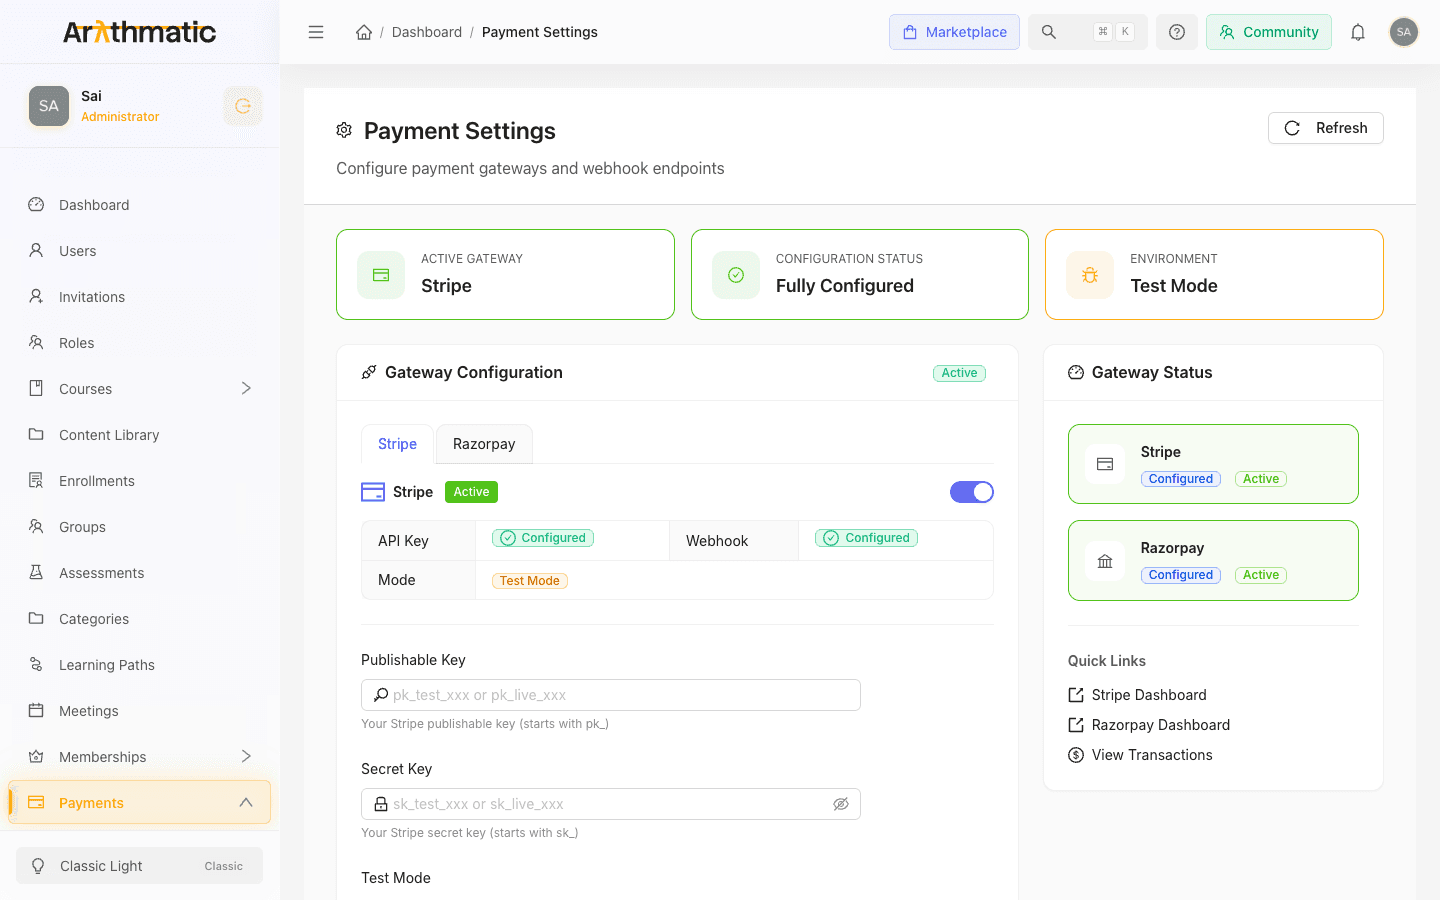
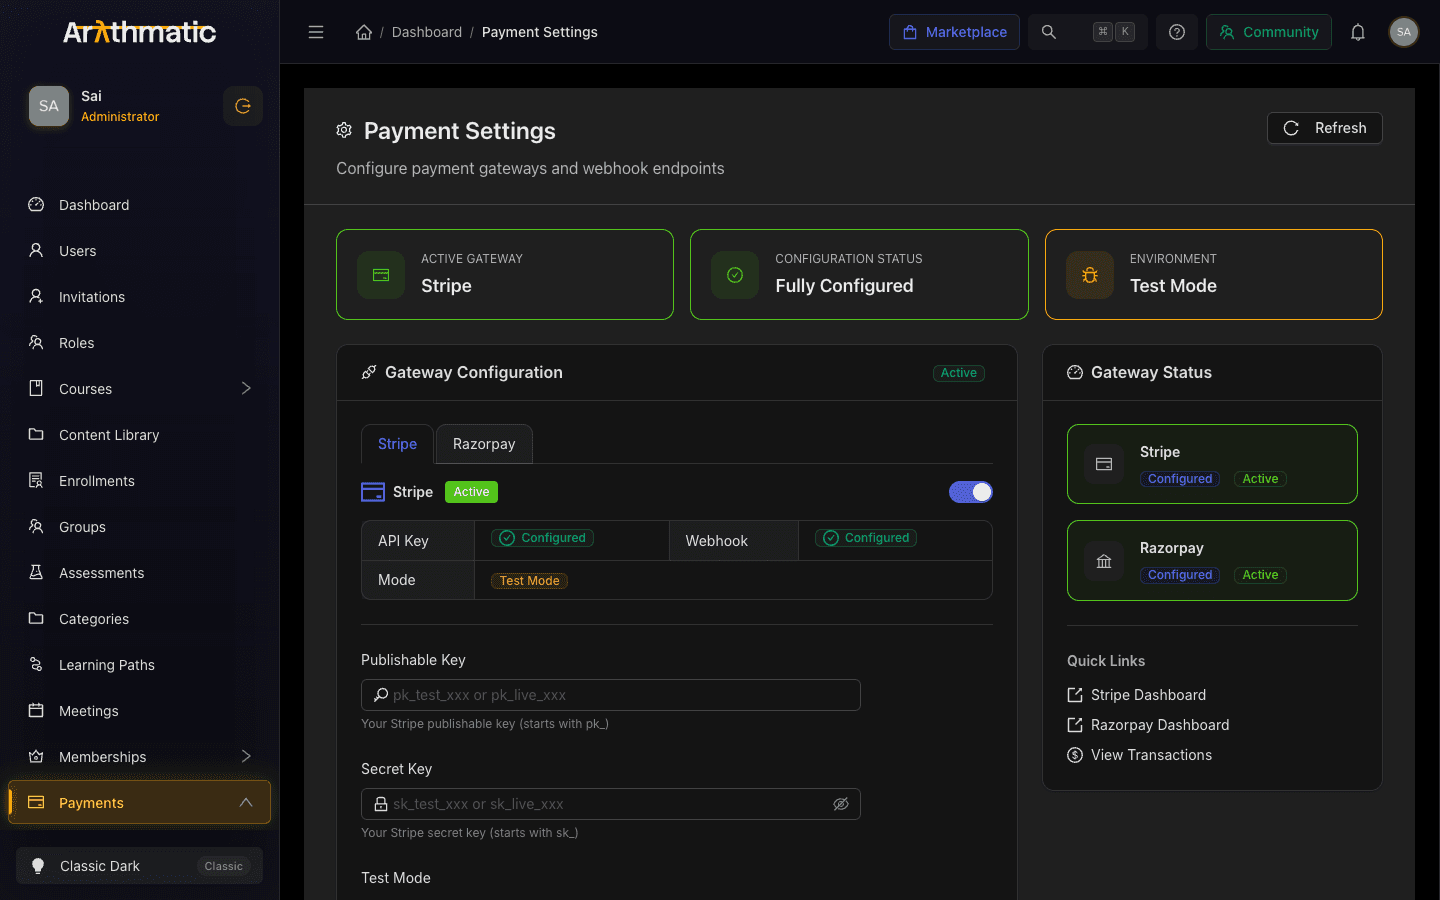
Payment Settings lives under the monetization area of the manage dashboard. Open it to reach the configuration screen. Use the Refresh button (top-right) at any time to reload the latest gateway status from the server.
Reading the status cards
Three cards across the top of the page summarize your current payment setup at a glance:
| Card | What it shows |
|---|---|
| Active Gateway | The name of the gateway currently collecting payments (Stripe or Razorpay), or Not Configured if none is active. |
| Configuration Status | Fully Configured when the active gateway has both its API key and webhook set, otherwise Setup Required. |
| Environment | Test Mode or Live Mode, reflecting the active gateway's mode. |
These cards read from whichever gateway is active, so they are the fastest way to confirm that payments are ready to go live.
Gateway Configuration panel
The main panel, Gateway Configuration, has two tabs — Stripe and Razorpay. Each tab holds that gateway's setup guide, a configuration-status summary, the credential form, an Active toggle at the top, and a webhook section. A tag in the panel header shows Active or Not Configured.
Until you save an API key for a gateway, its tab shows a collapsible How to get your … API keys guide with step-by-step instructions and shortcut buttons into the provider dashboard. The guide disappears once keys are saved.
Configuring Stripe
- Open the Stripe tab.
- If you do not already have a Stripe account, use Create Stripe Account in the setup guide to sign up.
- In the Stripe Dashboard, go to Developers → API keys and copy your Publishable key (
pk_…) and Secret key (sk_…). - Back in Arythmatic, paste the publishable key into Publishable Key and the secret key into Secret Key.
- Set the Test Mode toggle to match the keys you pasted — on for test keys (
pk_test_…/sk_test_…), off for live keys (pk_live_…/sk_live_…). - Click Save Configuration.
| Field | Notes |
|---|---|
| Publishable Key | Your Stripe publishable key; must start with pk_. |
| Secret Key | Your Stripe secret key; must start with sk_. Entered as a password field and never displayed back after saving. |
| Test Mode | Toggle indicating whether the saved keys are test or live keys. |
After saving, Arythmatic attempts to set up the Stripe webhook automatically. Use Test Connection to confirm the gateway configuration is saved and loads correctly, and the Webhook Management section to view, refresh, re-setup, or delete the webhook endpoint.
Test Connection confirms only that a gateway configuration is saved and can be loaded — it does not make a live call to Stripe or validate that your API keys are correct, so a saved-but-invalid or expired key can still report success. To verify keys end to end, run a real test-mode payment through checkout.
Configuring Razorpay
- Open the Razorpay tab.
- If needed, use Create Razorpay Account in the setup guide. Razorpay is best suited for accepting payments in India (INR).
- In the Razorpay Dashboard, go to Settings → API Keys and generate a key pair to get your Key ID and Key Secret.
- Paste them into Key ID (
rzp_…) and Key Secret in Arythmatic. - Set the Test Mode toggle to match — test keys start with
rzp_test_…, live keys withrzp_live_…. - Click Save Configuration.
| Field | Notes |
|---|---|
| Key ID | Your Razorpay Key ID; must start with rzp_. |
| Key Secret | Your Razorpay Key Secret. Entered as a password field and never displayed back after saving. |
| Test Mode | Toggle indicating whether the saved keys are test or live keys. |
Razorpay webhooks must be set up manually. After saving your keys, complete the Webhook Setup (Manual) section: copy the webhook URL, add it in Settings → Webhooks in the Razorpay Dashboard with the required events, then paste the webhook secret Razorpay gives you back into Arythmatic and click Save Secret. Payment confirmations will not work until this webhook secret is saved.
Test mode vs. live mode
Each gateway carries its own Test Mode toggle, and the Environment status card reflects the active gateway's mode. Always start in test mode:
- Test Mode uses your provider's test keys, so you can run through the checkout flow without moving real money.
- Live Mode uses live keys and charges real cards. Only switch to live keys after you have verified the full purchase flow end to end.
To move a gateway to live, generate live keys in the provider dashboard, paste them into the form, turn Test Mode off, and save.
Save your keys as they are (they are stored securely and shown only as Configured indicators afterward). Test Connection on the Stripe or Razorpay tab confirms the configuration is saved and loadable — not that the keys are valid or that a live call to the provider succeeds — so the surest check before going live is a real test-mode payment through the full checkout flow.
Gateway Status panel
The Gateway Status panel on the right lists both gateways with two badges each:
- Configured / Not Configured — whether keys have been saved for that gateway.
- Active / Inactive — whether that gateway is the one currently collecting payments.
When a gateway is configured but inactive, an Activate button appears next to it. Click it to make that gateway the active one. You can also toggle a gateway on or off using the Active switch at the top of its configuration tab. A gateway must be configured before it can be activated.
Quick Links
Below the status list, the Quick Links section provides shortcuts you will use often:
- Stripe Dashboard — opens the Stripe Dashboard in a new tab.
- Razorpay Dashboard — opens the Razorpay Dashboard in a new tab.
- View Transactions — opens your payment transactions inside Arythmatic.
Supported currencies
Checkout supports a fixed set of ten currencies: USD, EUR, GBP, INR, AUD, CAD, SGD, AED, JPY, and CNY. A learner checks out in one of these currencies, and the gateway is charged in that currency.
A course must have an active price row in the exact currency the learner is checking out in. If a learner requests a currency you have not priced the course in, checkout fails with "Price not available for currency …" rather than falling back to another currency. When you sell into multiple regions, add a price for each currency your learners will use — see Course Pricing.
Related
- Course Pricing — set a course as paid before collecting payments
- Learning Path Pricing — bundle pricing for learning paths
- Monetization — overview of pricing and payment processing
