Create a Course
This guide walks you through creating a new course from scratch. Once you have created the course shell, you will use the Curriculum Builder to add your sections and lessons.
Before you start
- You need the Admin or Instructor role.
- Have your course title, description, and thumbnail image ready. You can fill in details later, but the title is required to save.
Step 1 — Open the course creation wizard
- In the left sidebar of the manage dashboard, click Courses.
- Click + New Course (top-right corner).
The course creation wizard opens.
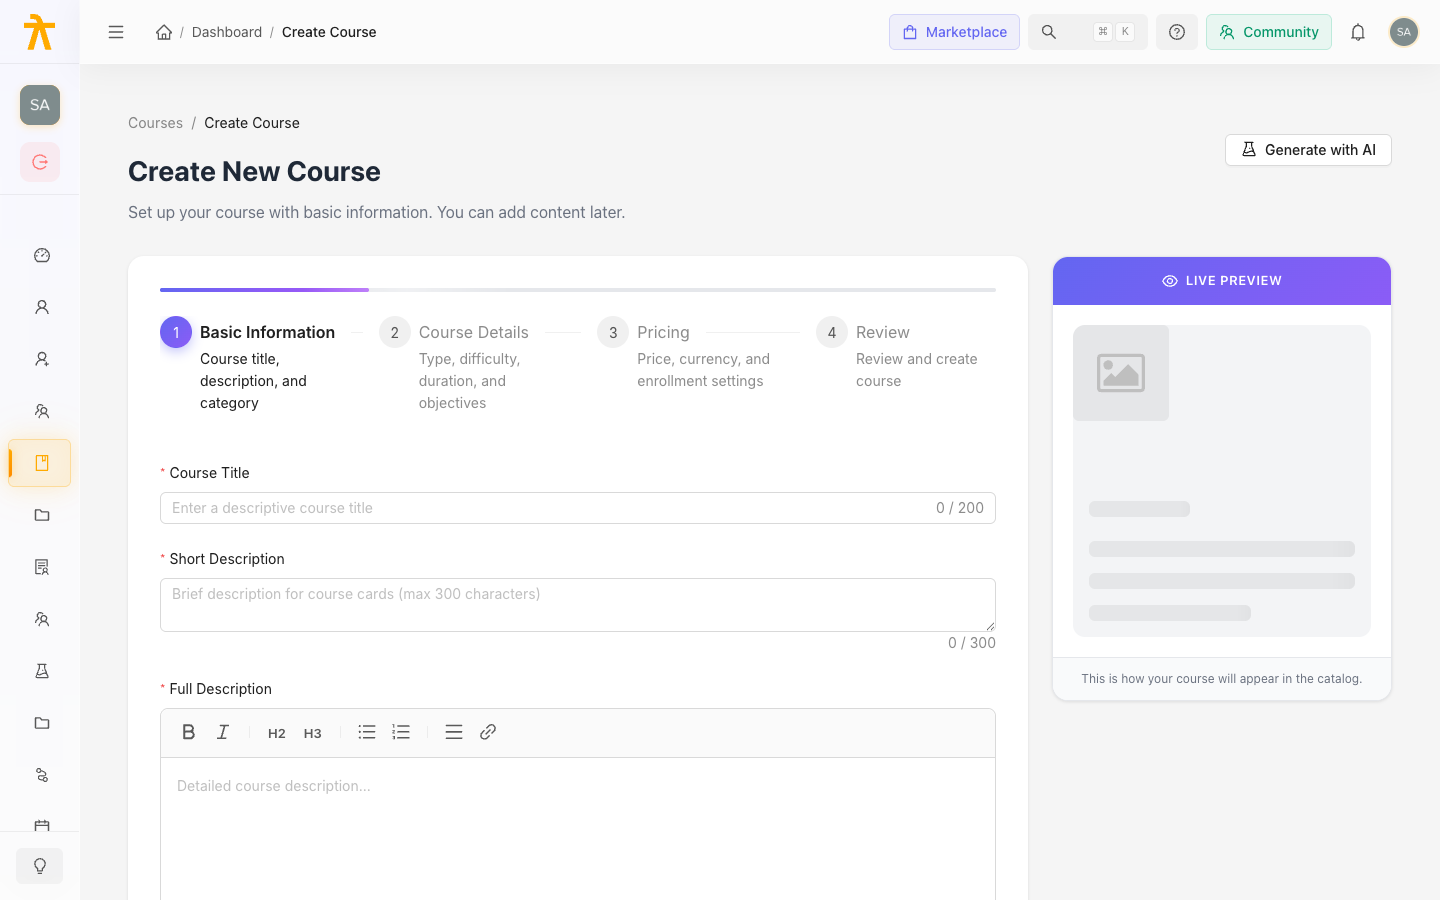
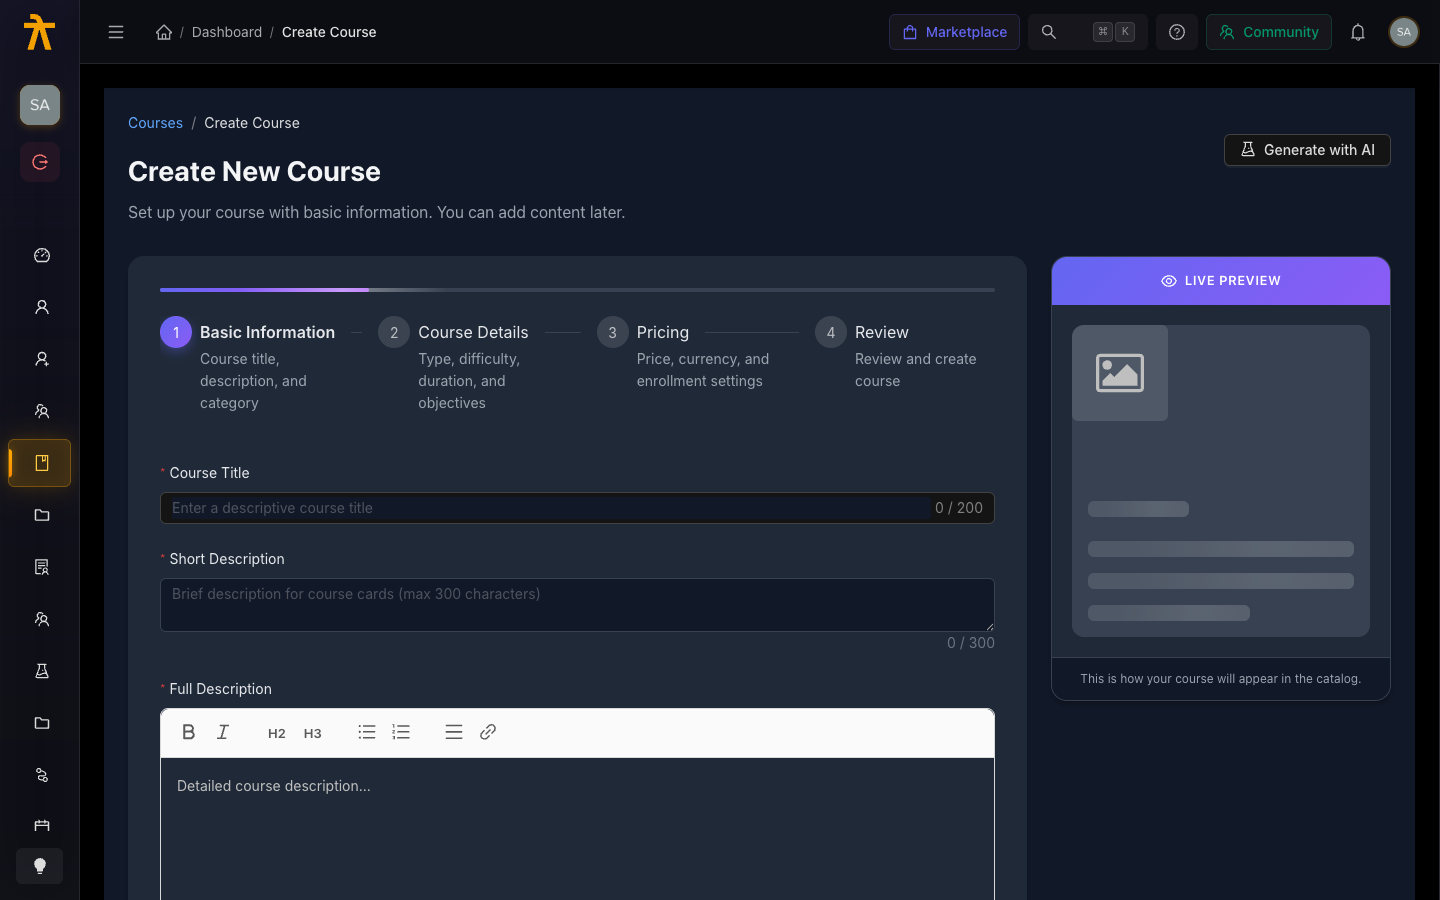
Step 2 — Enter basic details
Fill in the core information about your course:
| Field | Required | Notes |
|---|---|---|
| Title | Yes | Keep it clear and searchable. You can change it later. |
| Description | Recommended | Shown on the course detail page and in the catalog. Supports rich text. |
| Category | Recommended | Select an existing category or ask your Admin to create one. Categories help learners browse the catalog. |
| Thumbnail | Recommended | Upload a 16:9 image (JPG or PNG). Shown in catalog cards and course headers. |
| About the author | Optional | A short bio displayed on the course detail page. Plain text. |
Click Next (or Save & Continue) to proceed.
Step 3 — Choose the course type
Select how learners will take this course:
- Self-paced — learners enroll and work at their own schedule. Best for evergreen content.
- Instructor-led — you run the course in scheduled cohorts (batches). Batches are configured separately after you publish.
- Hybrid — a mix of self-paced content and scheduled sessions.
If you are not sure, start with Self-paced — you can adjust later from the course settings.
Step 4 — Configure visibility and pricing
| Setting | What it controls |
|---|---|
| Enrollment type | Open (anyone can enroll) vs. invite-only vs. admin-assigned |
| Price | Free, or set a price in one or more currencies |
| Category | Revisit if you want to change it |
Pricing details (multi-currency, coupon eligibility) are covered in Pricing & Payments.
Step 5 — Save and go to the curriculum
Click Create Course (or Save). Arythmatic creates the course in Draft status and takes you to the course detail page.
From here, click Curriculum (or the Build Curriculum button) to open the Curriculum Builder and start adding your sections and lessons.
What happens next
Your course is saved as a Draft. Nothing is visible to learners yet. You can:
- Build the curriculum — add sections and content
- Edit course settings at any time from the Settings tab on the course detail page
- Preview and publish when you are ready to go live
You can save a course with only a title and fill in all other details later. Come back to the Settings tab at any point to update descriptions, thumbnails, or pricing.